First of all i’m writing this in english so it may be of some help for G+ community “Micro 4/3 Club” also.
Since i bought my Epl-2 i’m experiencing much noise in different situations. I also have a Pentax K5, which is astonishing when we talk about noise. It simply doesn’t have it.
Anyway with the Epl-2 there is not much to do. Its sensor is not as good as Omd’s, so if you raise iso, noise is there to ruin your picture.
Of course using a tripod and pointing at static subject allows us to use low iso values, like 200, and shoot in the night no matter what. But again, i see noise. It seems Epl-2 can’t do it.
I have some shots made at night on a tripod, iso 200, and still I have to use noise reduction filters on post production.
So here is where the image stacking became great. Maybe many of you already known this technique. Well I didn’t. A friend of mine wrote an article on his blog and I decided to try it myself.
I took 10 shots at 6400 iso, which is extreme i know, but i had to know how much noise i can kill this way. So what are the results?
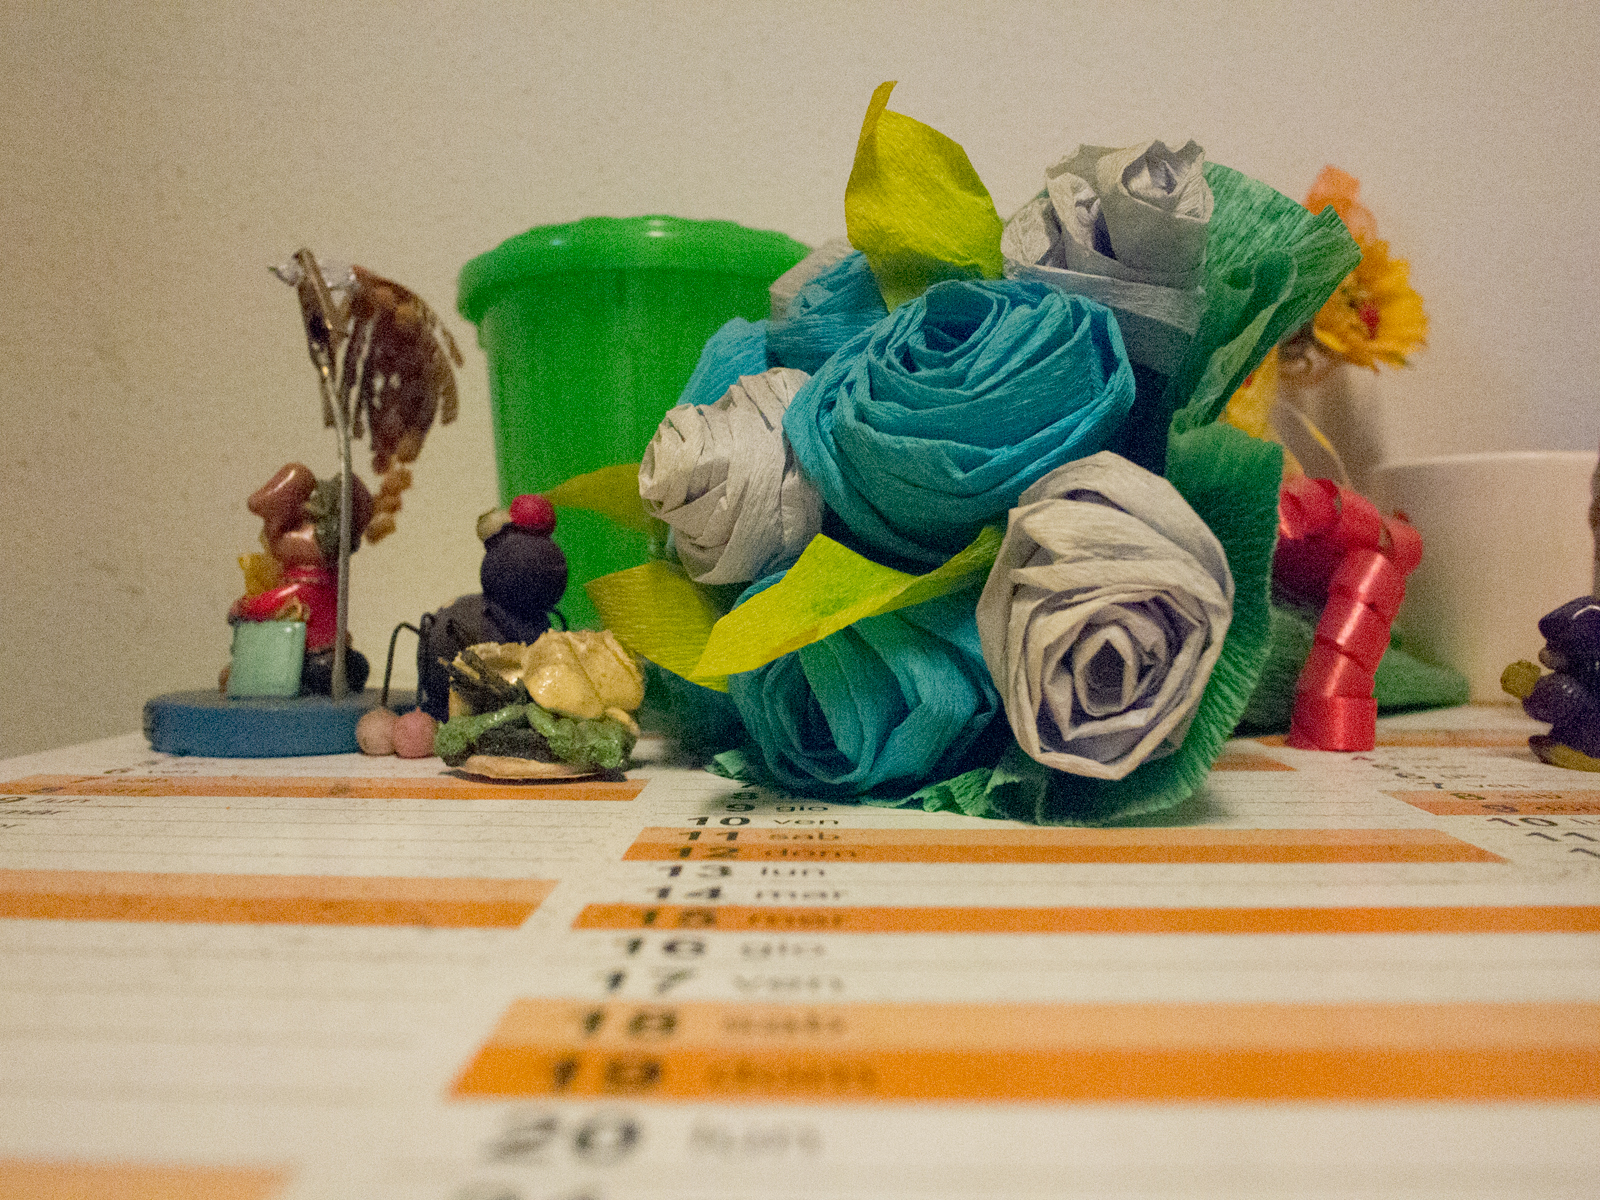
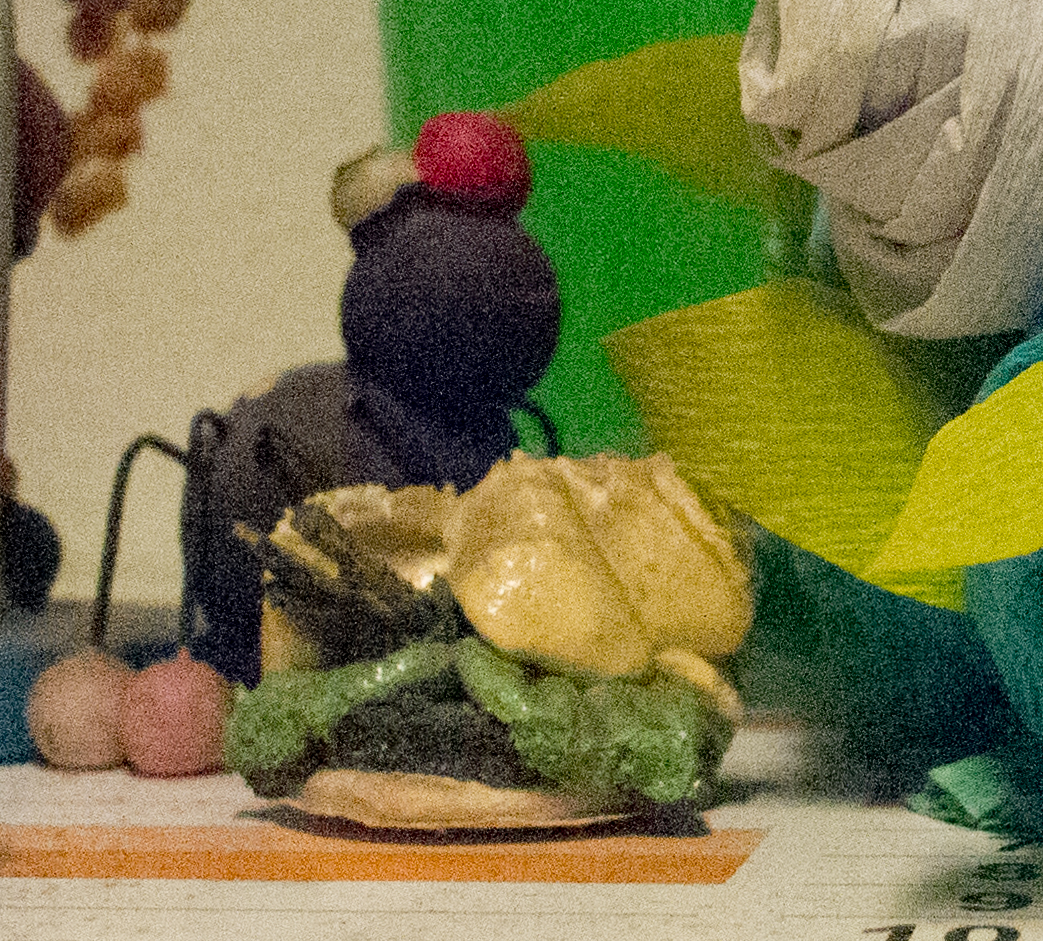
This is one shot with no post production (all 10 shots are identical): 6400 iso
And the crop:
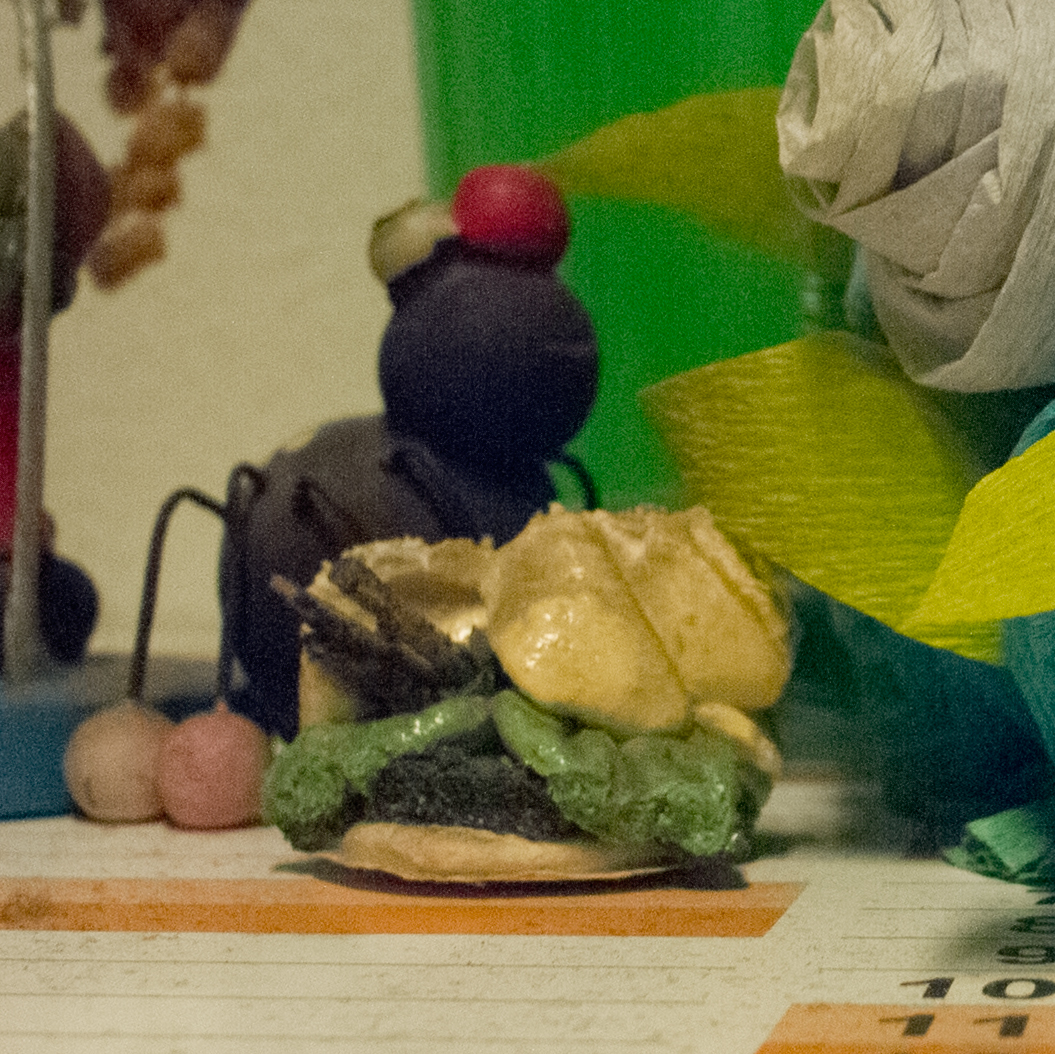
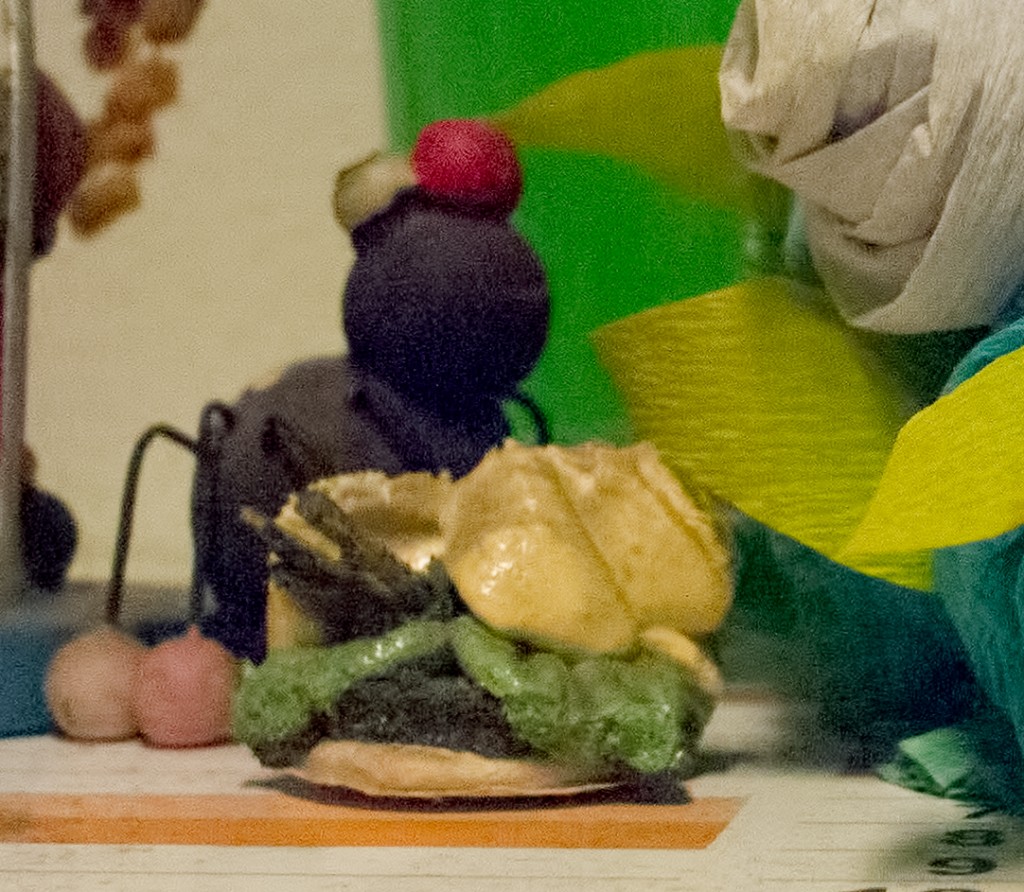
What happens if i stack togheter 10 shots? I was really surprised:
And the crop:
I thought that using a 3rd party program to denoise the pic could have produced the same result, but to reduce the noise this much you definitely lost details.
It seems to work very well on static subjects, but what happens if I try this in real life situations? I’ve been on holidays this weekend and I’ve got the opportunity to shot multiple images both at 200 iso and 1600 iso. As you can see from the pics below stacking works like a charme.
(All the shots had the same post production < Auto contrast, -20 Yellow saturation, 20% highlights correction >)
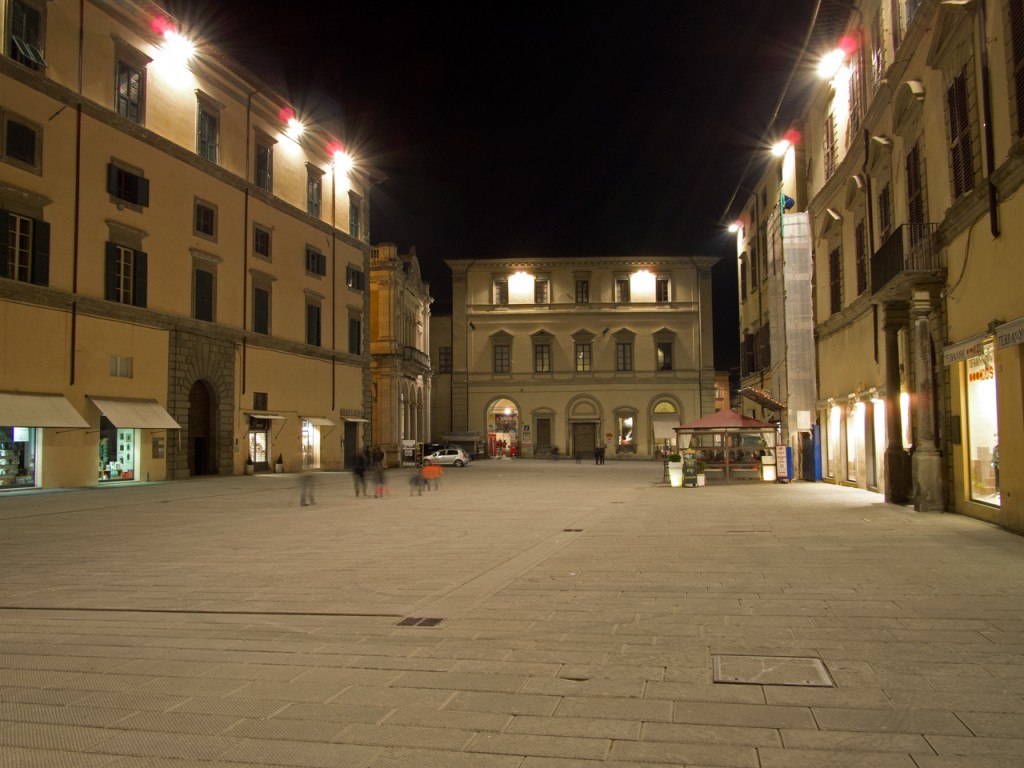
1 raw, iso 200, No stack – Full Image
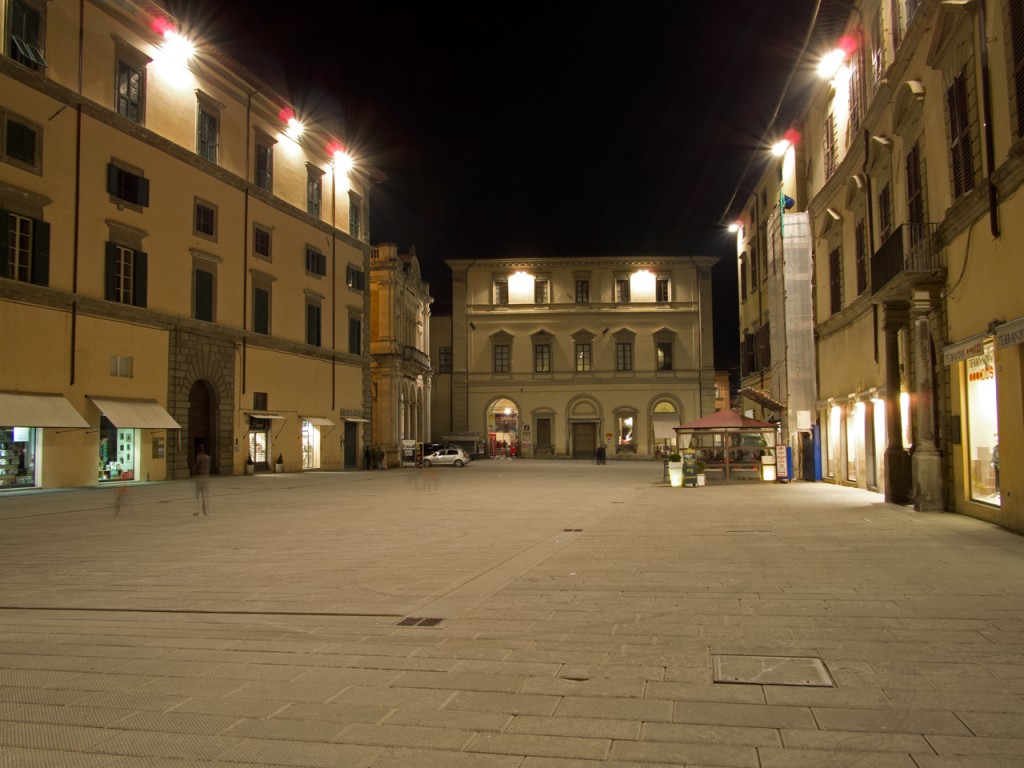
4 raw, iso 200, Stack – Full Image
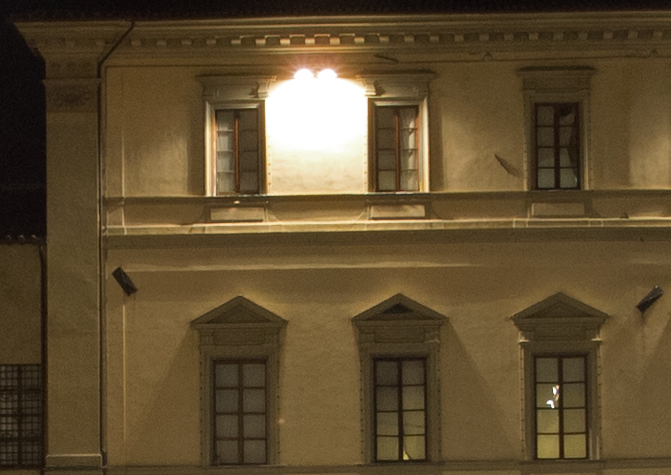
1 raw, iso 200, crop 200%
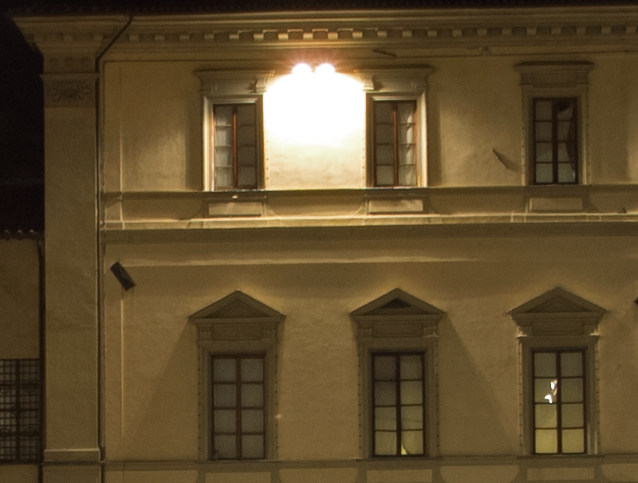
4 raw, iso 200, crop 200%, STACK
I’m very satisfied with this technique. I can have clean files to start with elaboration, with much less noise even at iso 200.
Ok now if you have read this far you are wondering how to use the stack. If you have photoshop it’s really simple.
1) File —> Scripts —> Load file into stack
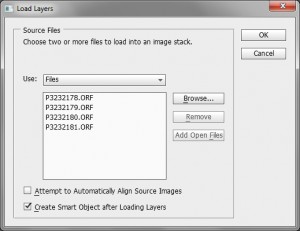
2)In the Load Layer screen choose your files and tick on “Create Smart Object after loading layers, like the pic below
3) When the object is created you have to do the last step: Layer —> Smart Objects —> Stack Mode —> Mean
(If you want to reduce ghosts on high lively places, use Median instead of Mean)
Done! You can see the differences yourself. If you are satisfied with the result Right Click on the object —> Flatten image and start post producing your new image.

